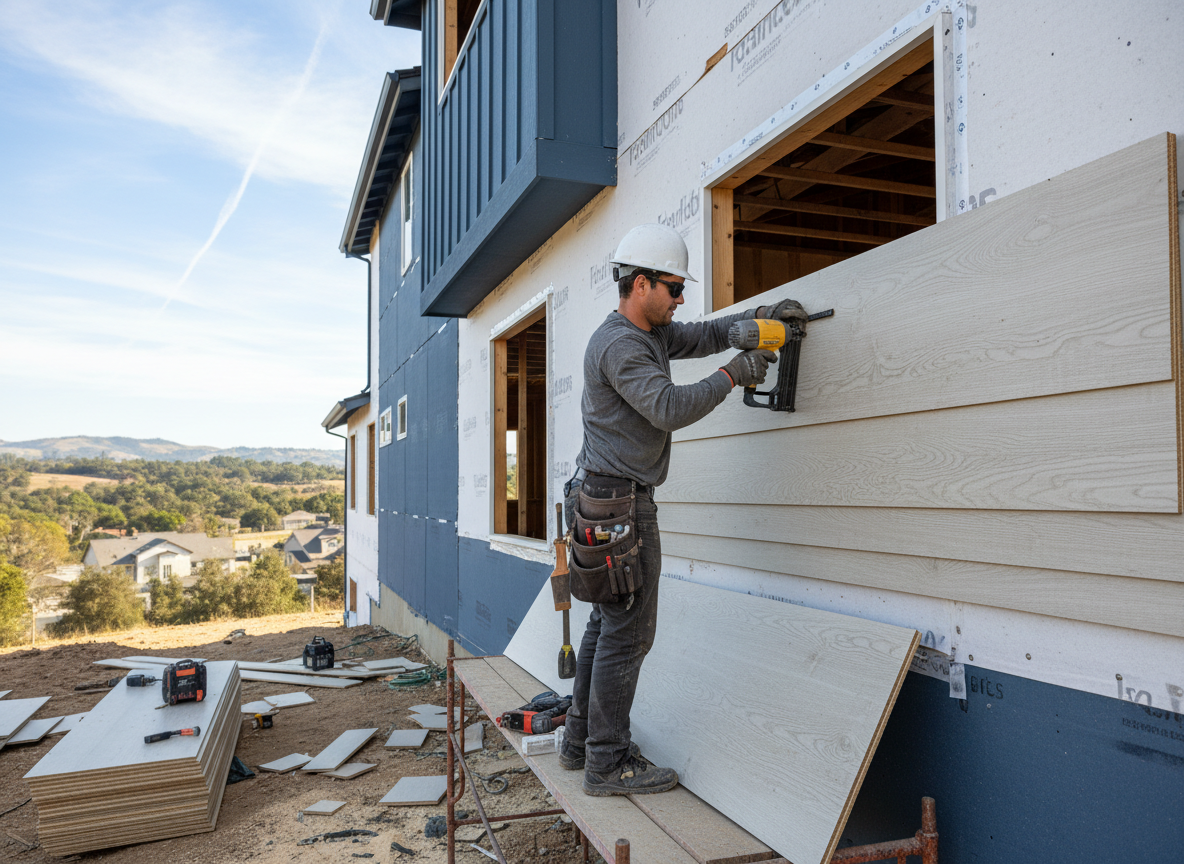
Hardboard siding appears on many Oakley homes built between the 1950s and 1970s, especially along Madison Road and in the surrounding blocks near the Oakley Square business district. The material expands when it absorbs the frequent spring and fall rains common in Hamilton County, then contracts during winter freeze-thaw cycles, loosening fasteners and cracking factory finishes. Crews at Revivora Tech routinely find that paint films on south- and west-facing walls hide early swelling until water reaches the sheathing.
Proper installation requires 3/8-inch ventilation gaps at the bottom of each course and stainless-steel fasteners spaced no more than 16 inches on center to resist the high winds that funnel through the Mill Creek valley. When replacing sections, we match the original 4-by-8 or 4-by-9 panel profiles still stocked by local suppliers rather than switching to fiber cement, which changes the house's thermal movement and can telegraph through newer paint. Edge sealing with exterior-grade primer before installation prevents the wicking that shortens service life in Cincinnati's humid summers.
Older Oakley homes often have 2x4 studs at 16-inch centers with minimal sheathing, so new hardboard must be installed over housewrap and furring strips to maintain the original reveal lines while adding a drainage plane. Skipping this step leads to the same rot we see behind failed 1970s installations where panels were fastened directly to the studs.
Technician insight
In Oakley, the thing that catches most people out with hardboard siding is how the freeze-thaw cycles along the low-lying blocks near the railroad tracks push moisture up behind the bottom course, rotting the sill plate before any exterior bubbling shows.
South Elevation Repair on Hyde Park Adjacent Street
Homeowner reported soft spots near the base of the wall after a wet spring. Inspection revealed water had entered through unsealed vertical joints and traveled downward. We removed three courses, installed new flashing and furring, replaced the panels, and sealed all edges. The wall has remained dry through the following winter.
How it works
- 1
On-Site Assessment
We examine every elevation for swelling, fastener failure, and water stains, noting original panel thickness and stud spacing typical of Oakley construction.
- 2
Moisture Mapping and Removal
Damaged panels are cut out, affected sheathing is dried or replaced, and the wall is allowed to dry before new material is introduced.
- 3
Preparation and Flashing
New housewrap, furring, and metal flashing are installed at all horizontal joints and window heads to direct water away from the hardboard.
- 4
Panel Installation and Finish
Pre-primed hardboard is fastened, seams are caulked with paintable exterior sealant, and two coats of 100% acrylic paint are applied for UV and moisture protection.
Pricing
Upfront quotes after inspection; price varies with wall height, number of elevations, and extent of hidden sheathing damage.